Generating and Running the Application
This section highlights the use of the RASP Platform for resource generation. The process involves leveraging the RASP Platform to create resources such as:
- Helpers
- Controllers
- Services
- Helper methods for each entity
These resources are provided in the form of a JSON file. Upon successful execution of the Generate Resource method, the following output is obtained:
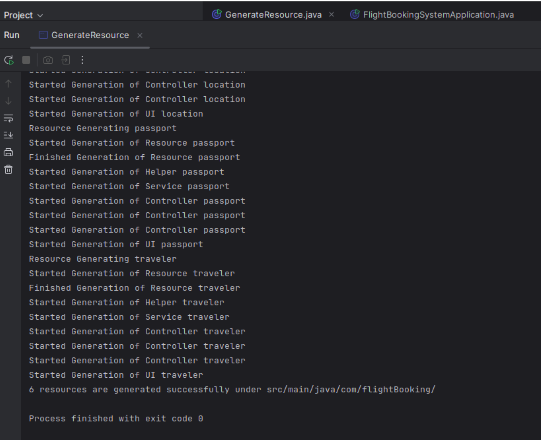
This output confirms that the code has been generated successfully.
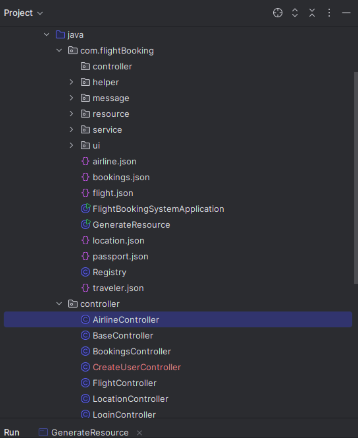
The generated code can be viewed in the following directories:
Running the Application
Before proceeding with the application execution, it is essential to set the following environment variables:
-
Click on Edit Configurations.
-
Click on Add New Configuration.
Add the Name of the application, in this case:
- Name:
FlightBookingSystemApplication
- Name:
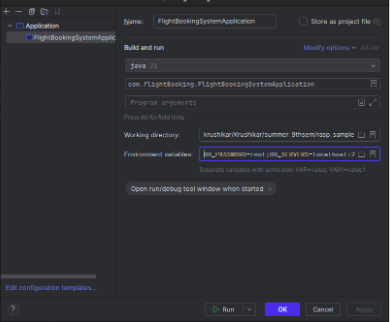
The Environment Variables included are:
DB_PASSWORD=root;
DB_SERVERS=localhost:23017,;
DB_USERNAME=root
Application Configuration Guidelines
Application Port Configuration
The port on which the application will run can be specified in the application.properties file. Ensure that the correct port is mentioned in this file to avoid conflicts or misconfigurations.
MongoDB Configuration
It is important to note that MongoDB is configured to run on port 23017 rather than the default 27017. This custom configuration has already been accounted for within the RASP Platform, ensuring seamless integration between the application and the database during runtime.
API Calls
Once the environment variables are configured, and the application is successfully running (i.e., the Java code is in execution), API calls can be made.
API Operations
All API calls require authentication to execute. Therefore, it is necessary to first create a user and then log in with the created user.
Once the user is successfully created, the authentication process is completed by logging in. The session_id received from the login response should be included in the headers of all subsequent API calls to authenticate and authorize the requests.
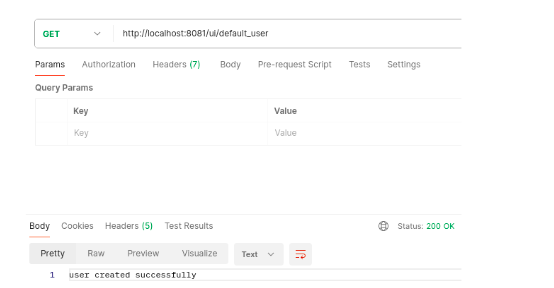
Registering the User through Command Line
- Run the application.
- Once the application is running, “Enter your userEmail” command prompts in the terminal.
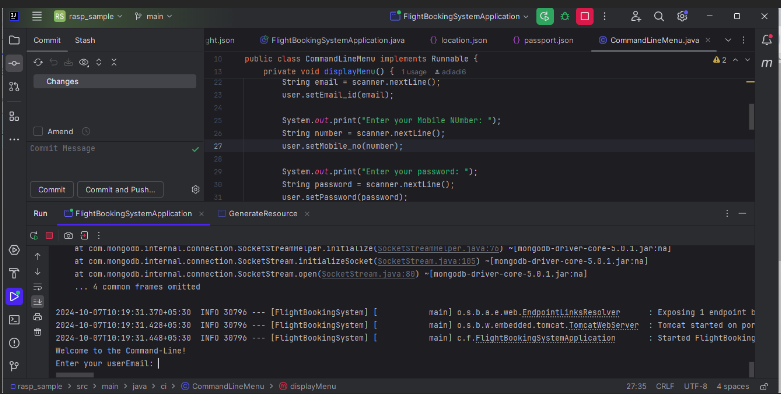
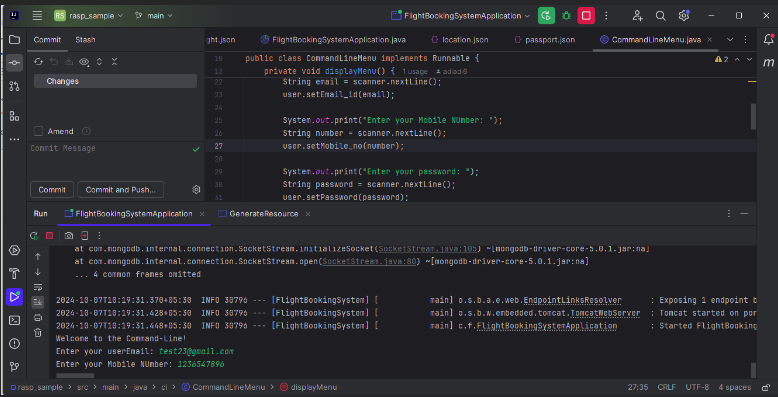
- Enter your email id above.
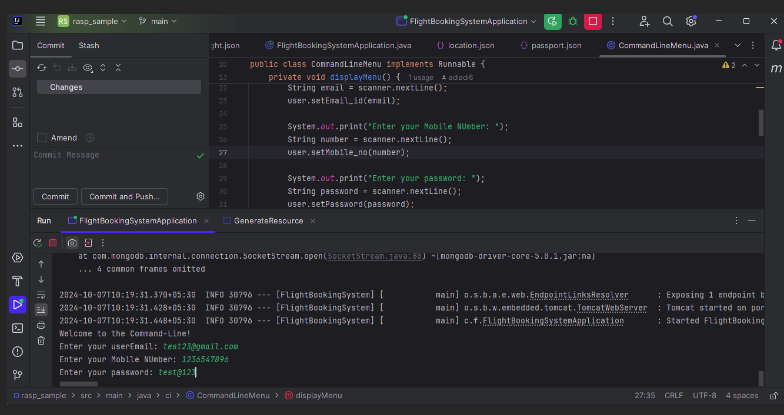
- Enter your mobile number:
- Enter the password:
- Enter the Username:
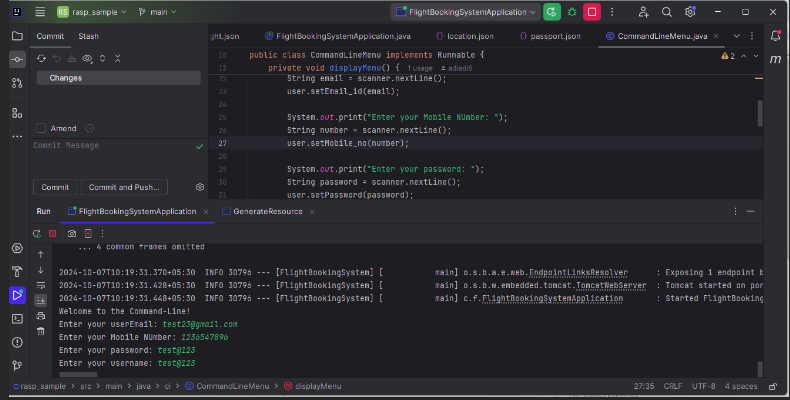
- The user is registered and data is saved in User table in the dB.
The API call format is as follows:
After Registering the User, next step is to Log in. The corresponding API call for login is:
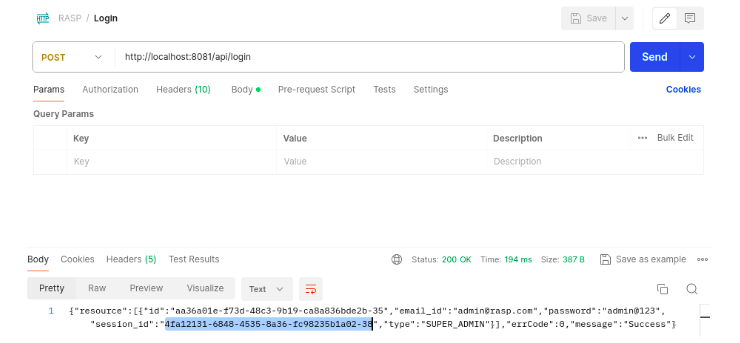 Lets capture the session ID from the response as it will be used in all subsequent API calls.
CRUD Operations for the Flight Entity
Next, CRUD (Create, Read, Update, Delete) operations will be demonstrated for a specific entity, namely the flight entity:
CREATE
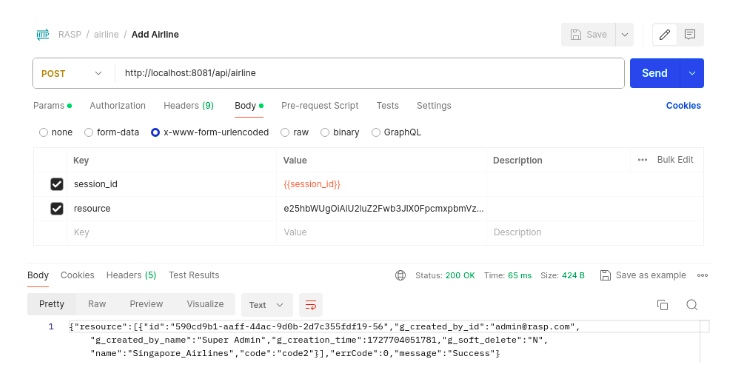
Similarly Another Airline can be added.
READ
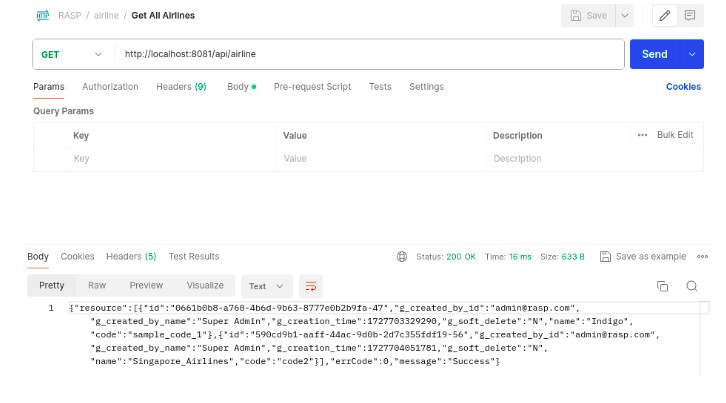
We can see that the two created Objects have been returned from the READ Operation
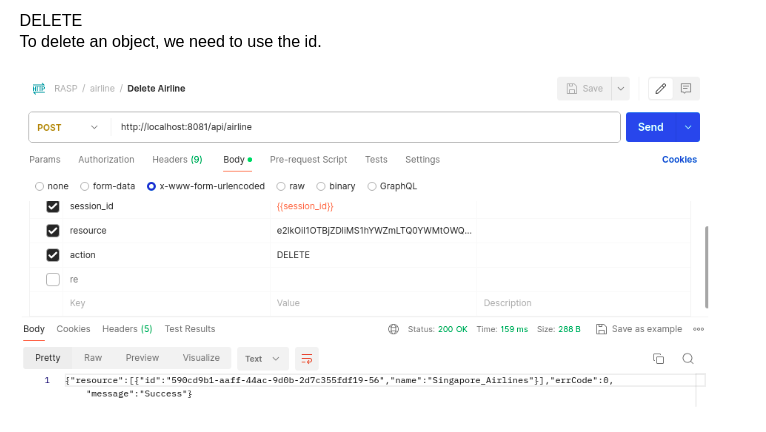
DELETE
To delete an object, we need to use the id.
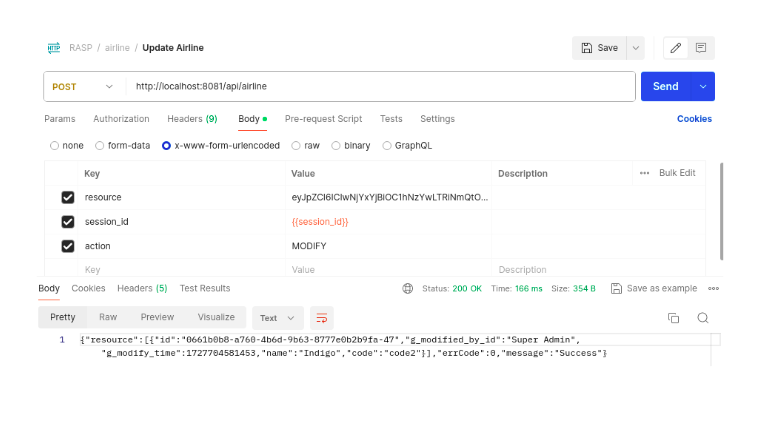
UPDATE
To update an object via API, the ID of the object that needs to be updated must be specified. Along with the ID, provide the corresponding column (field) names and their new values in the request. This ensures that the specified fields are updated with the new data. The ID is crucial for identifying the specific object to be modified, while the new values define the changes to be applied.